Storyboard allows users to easily create and share audio content within their organization.
Whether you’re recapping a meeting or showcasing a big win, our platform offers an all-in-one recording solution that allows you to create content, share episodes, and invite your team to listen in just a few clicks.
In this article, we’ll go over how to record audio on the Storyboard mobile apps: iOS / Android.
Formats supported by Storyboard mobile recording
At this time, recording using the Storyboard platform is recommended for solo use only. Don’t worry, multi-person recording will be available on the platform very soon!
Here are a few ideas for solo recording
-a team member discussing weekly project updates
-a sales rep sharing notes from a prospect call
-a new hire introducing themselves to the team (we do this at Storyboard!)
Who can record
We believe that everyone should be involved in their team’s conversation. For that reason, both administrators and users have the ability to record content on the Storyboard mobile app.
-Administrators can share content directly with their listeners
-Users without admin privileges have to submit their recordings to administrators for approval before the content can be published
How to record on the app
Recording directly on the Storyboard app is the most convenient way to share audio content with your team. Whether you’re at a desk or on the go, all you need is your phone to get started.
- Sign in to the Storyboard app for Android or iOS.
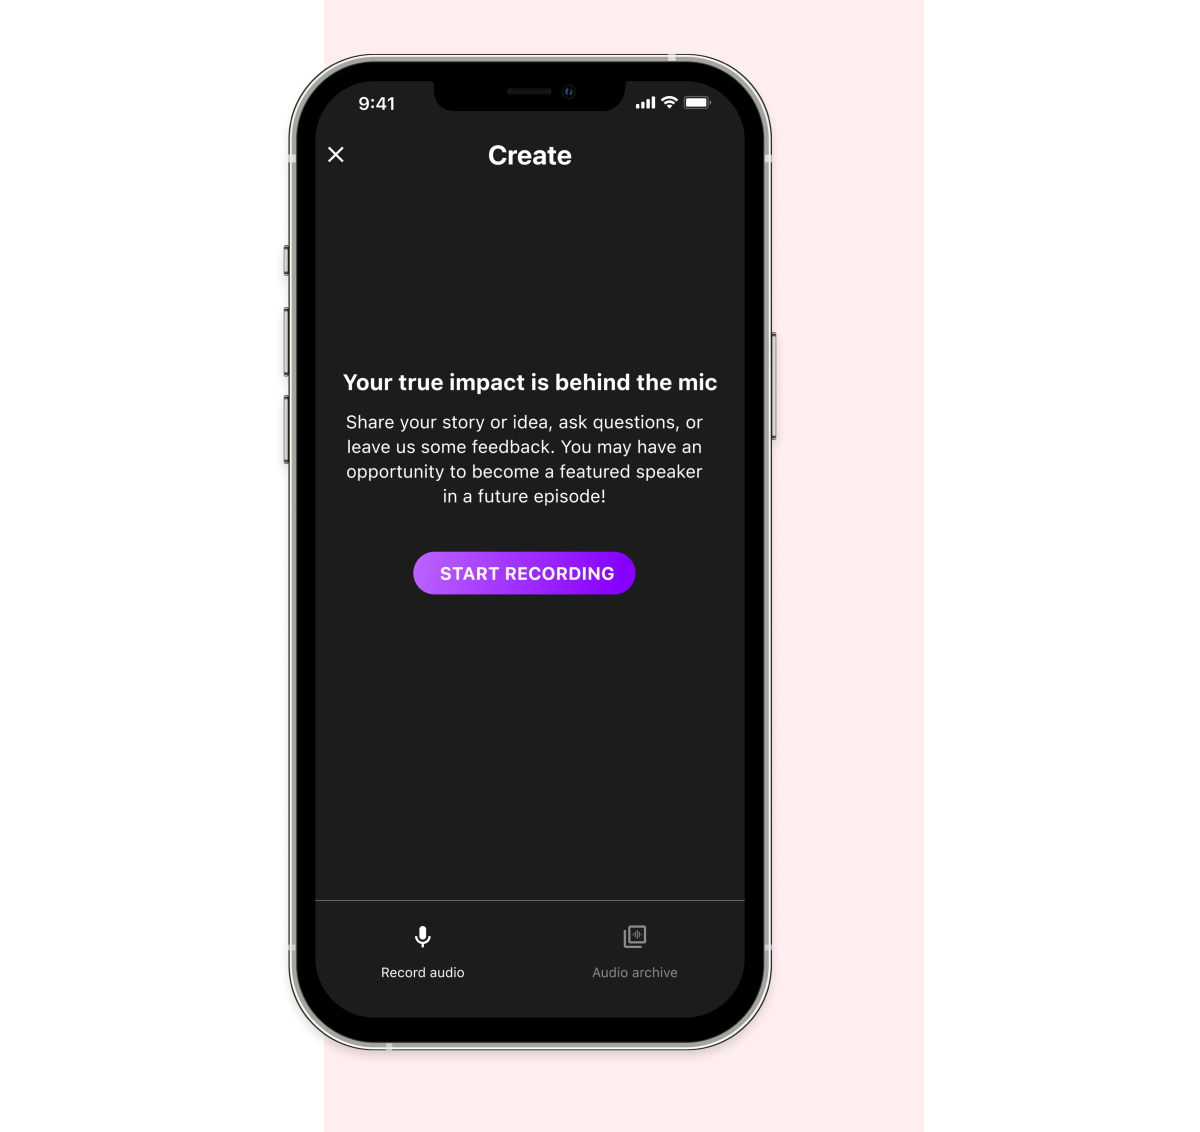
- Click on the Create tab at the bottom of your screen.
- When you are ready, click on Start Recording to begin your recording experience.
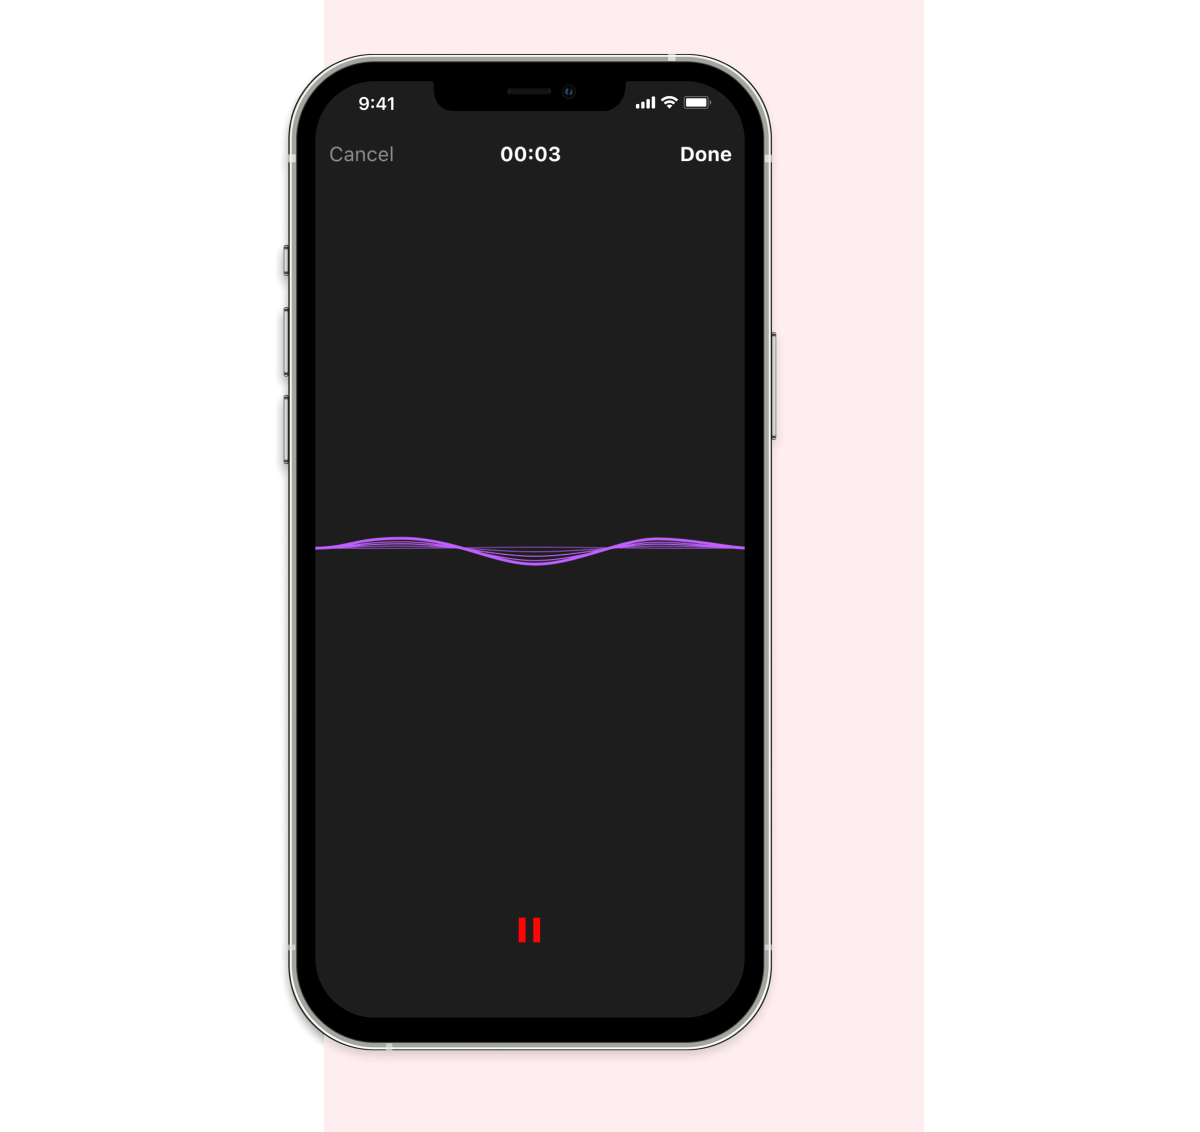
- Once the recording is in progress, you can:
Stop at any time by clicking on the red pause button
Resume by clicking on the red microphone icon - Once you’re finished, click on the red pause button followed by the Done button.
You can exit a recording at any time by clicking on the Cancel button. This will NOT save the recording.
Best practices for recording on the Storyboard mobile apps:
-If using your phone’s microphone, make sure that your phone is no more than 1 foot (.3 meters) from your face.
-If recording with headphones that have a built-in microphone (such as Airpods), ensure that they are properly connected to your device.
-While recording, the soundwaves on your screen correspond to how loud you are speaking.
-Pay attention to the waves and try to keep them as consistent as possible.
Large fluctuations indicate that your vocals are too loud.
Flat lines indicate that your vocals are too soft.
-To correct this, adjust your distance to the microphone and the tone of your voice.
FAQ: Do I need a plug-in microphone to record on mobile?
You do not need a traditional microphone that plugs into your phone to record. We recommend recording with the built-in microphone in your headphones or using your phone’s microphone.
How to edit your recording
Once your recording is finished, you will be directed to a screen where you can preview and trim your episode.
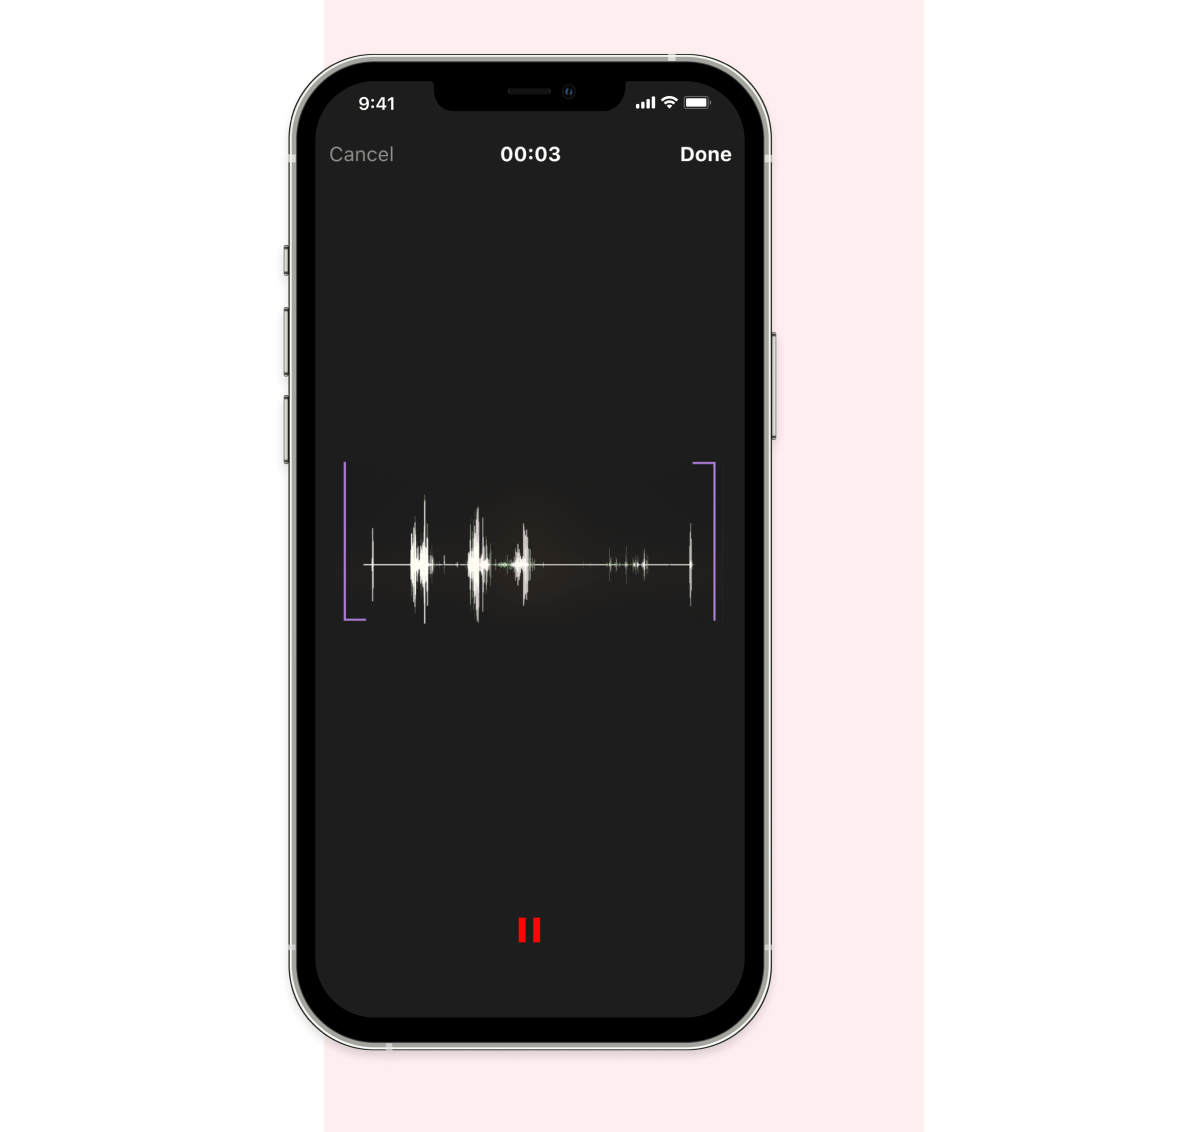
- To review your entire recording, click on the play icon at the bottom of your screen.
- To review a specific part of your episode, drag the purple audio trimmer from the left side of your screen to the point in the episode you wish to start from.
- To trim an episode, pull the purple left audio trimmer to the point you wish to start and pull the purple right audio trimmer to the point you wish to end.
- When you are finished with your edits, select the Done button.
FAQ: How do I edit out a specific part in the middle of the recording?
At this time, Storyboard’s in-app recording tool only supports trimming from the beginning or end of an episode.
If you wish to edit out a section within your episode, you will need to download the file and edit it using an external editing software. We’ll be bringing more in-app editing tools to the platform soon!
FAQ: Do I need to be on data or wifi to record?
You do not need to be on data or wifi to record. Your recording is done locally on your phone, which means that the quality of your recording will not be affected by outages or dead zones. Storyboard will save your recording in the audio archive, and the episode can be submitted for publication once you are re-connected to wifi or data.
Submitting your recording
Administrators
Storyboard administrators can post their recordings directly to their team’s listening feed from the app. Here’s how:
- After completing the editing stage, you will see a screen that asks you to add details about your recording. This includes:
Creating a title
Creating a description
Select a Group you’d like to post the recording to
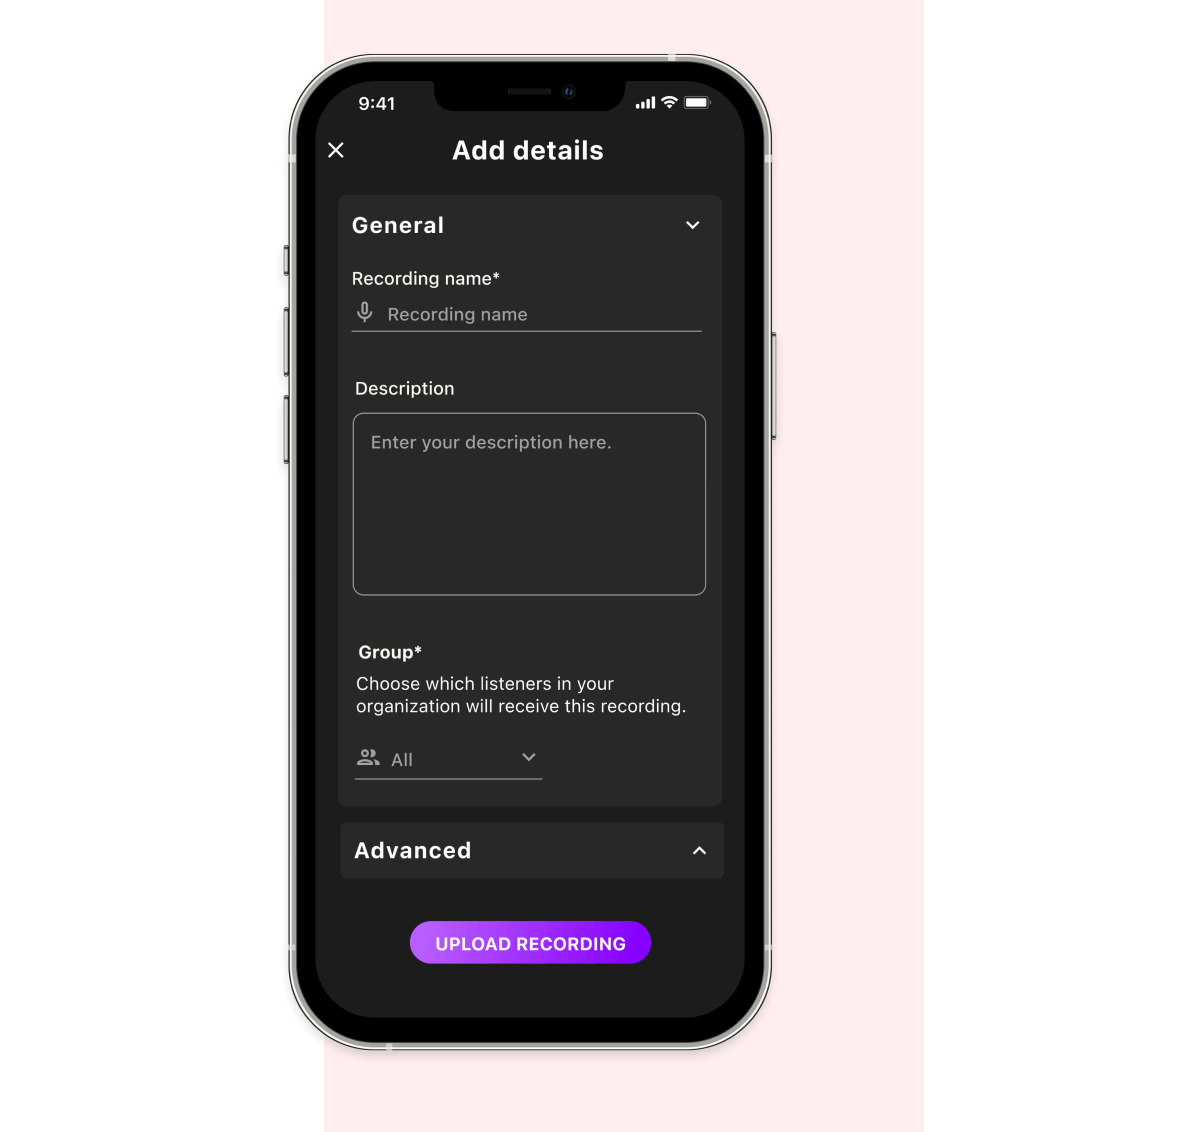
- For more advanced details, click on the + sign next to Advanced. Here you can:
Select a future release date for your recording
Upload a custom show image
Select an expiration date for your recording - Once you are finished, click on Submit Recording.
- Your episode will now be posted to your team’s listener feed.
FAQ: Can I go back and change my recording details later?
Yes, you can edit your recording details at any time from your administrator dashboard on the Storyboard website.
- From your administrator dashboard, scroll down to the episode you wish to edit.
- Click on the + sign next to the episode and select Edit episode.
Users
To have your episode posted on your team’s Storyboard channel, you will first need to get the approval of your account’s administrator. Here’s how to submit a recording for approval:
- After completing the editing stage, you will see a screen that asks you to add details about your recording.
- Add a title and description for your episode. This will be published with your episode when it goes live.
- Click Submit Recording to send it for review to your administrator.
Listener FAQ: How will I know if my account administrator receives my recording?
Your account administrator will receive a notification that your recording has been submitted. They will have the opportunity to review the recording and post it to your team’s listener feed.
Make sure to turn on push notifications so you can be alerted when your episode goes live.
FAQ: How do I save my recording to be submitted later?
- After completing the editing stage, you will see a screen that asks you to add details about your recording.
- Click the < icon at the top left of your screen. You will see a pop-up that asks if you would like to save your recording as a draft or discard it.
- If you choose to save your recording as a draft, you can revisit it anytime from the mobile application by clicking on the Create tab, followed by clicking on the Audio archive tab.
- From the Audio archive tab, you will be able to see all submitted recordings, as well as the draft you previously saved.
undefinedundefined