When releasing a new episode to listeners, Storyboard creators use the “Upload a Podcast” flow to launch new content on their channels. Timestamps are incredibly helpful when it comes to enhancing the listener experience and allowing creators to tag or call out specific moments in an episode.
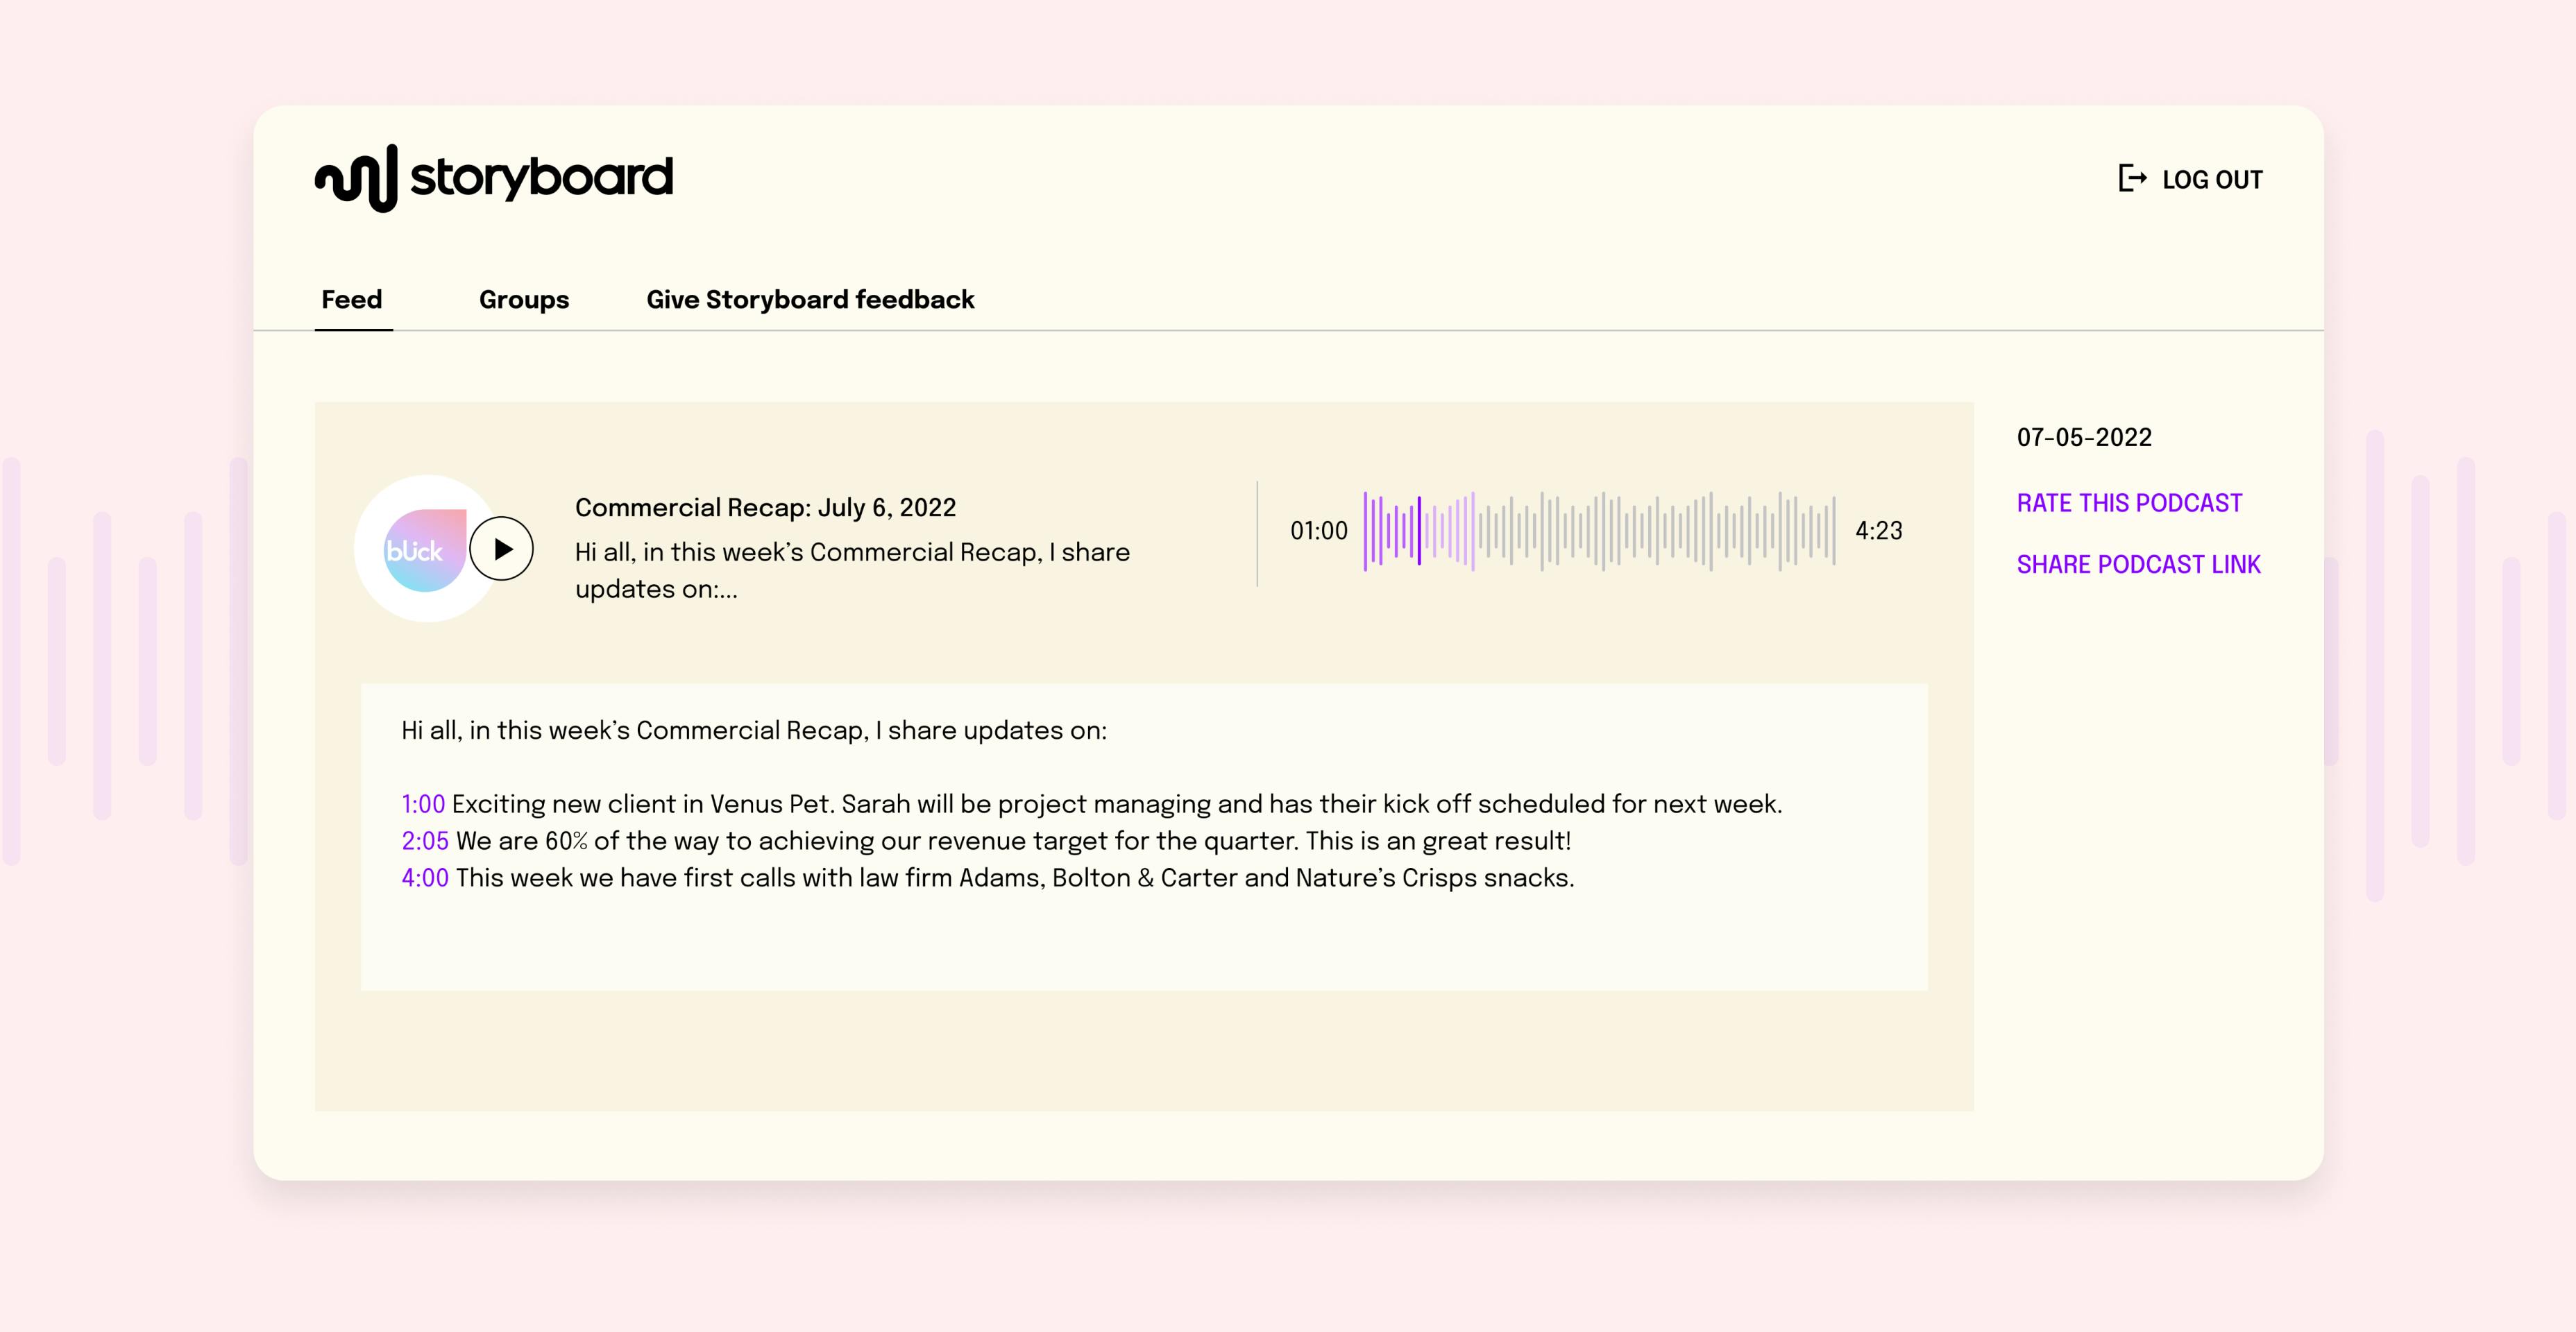
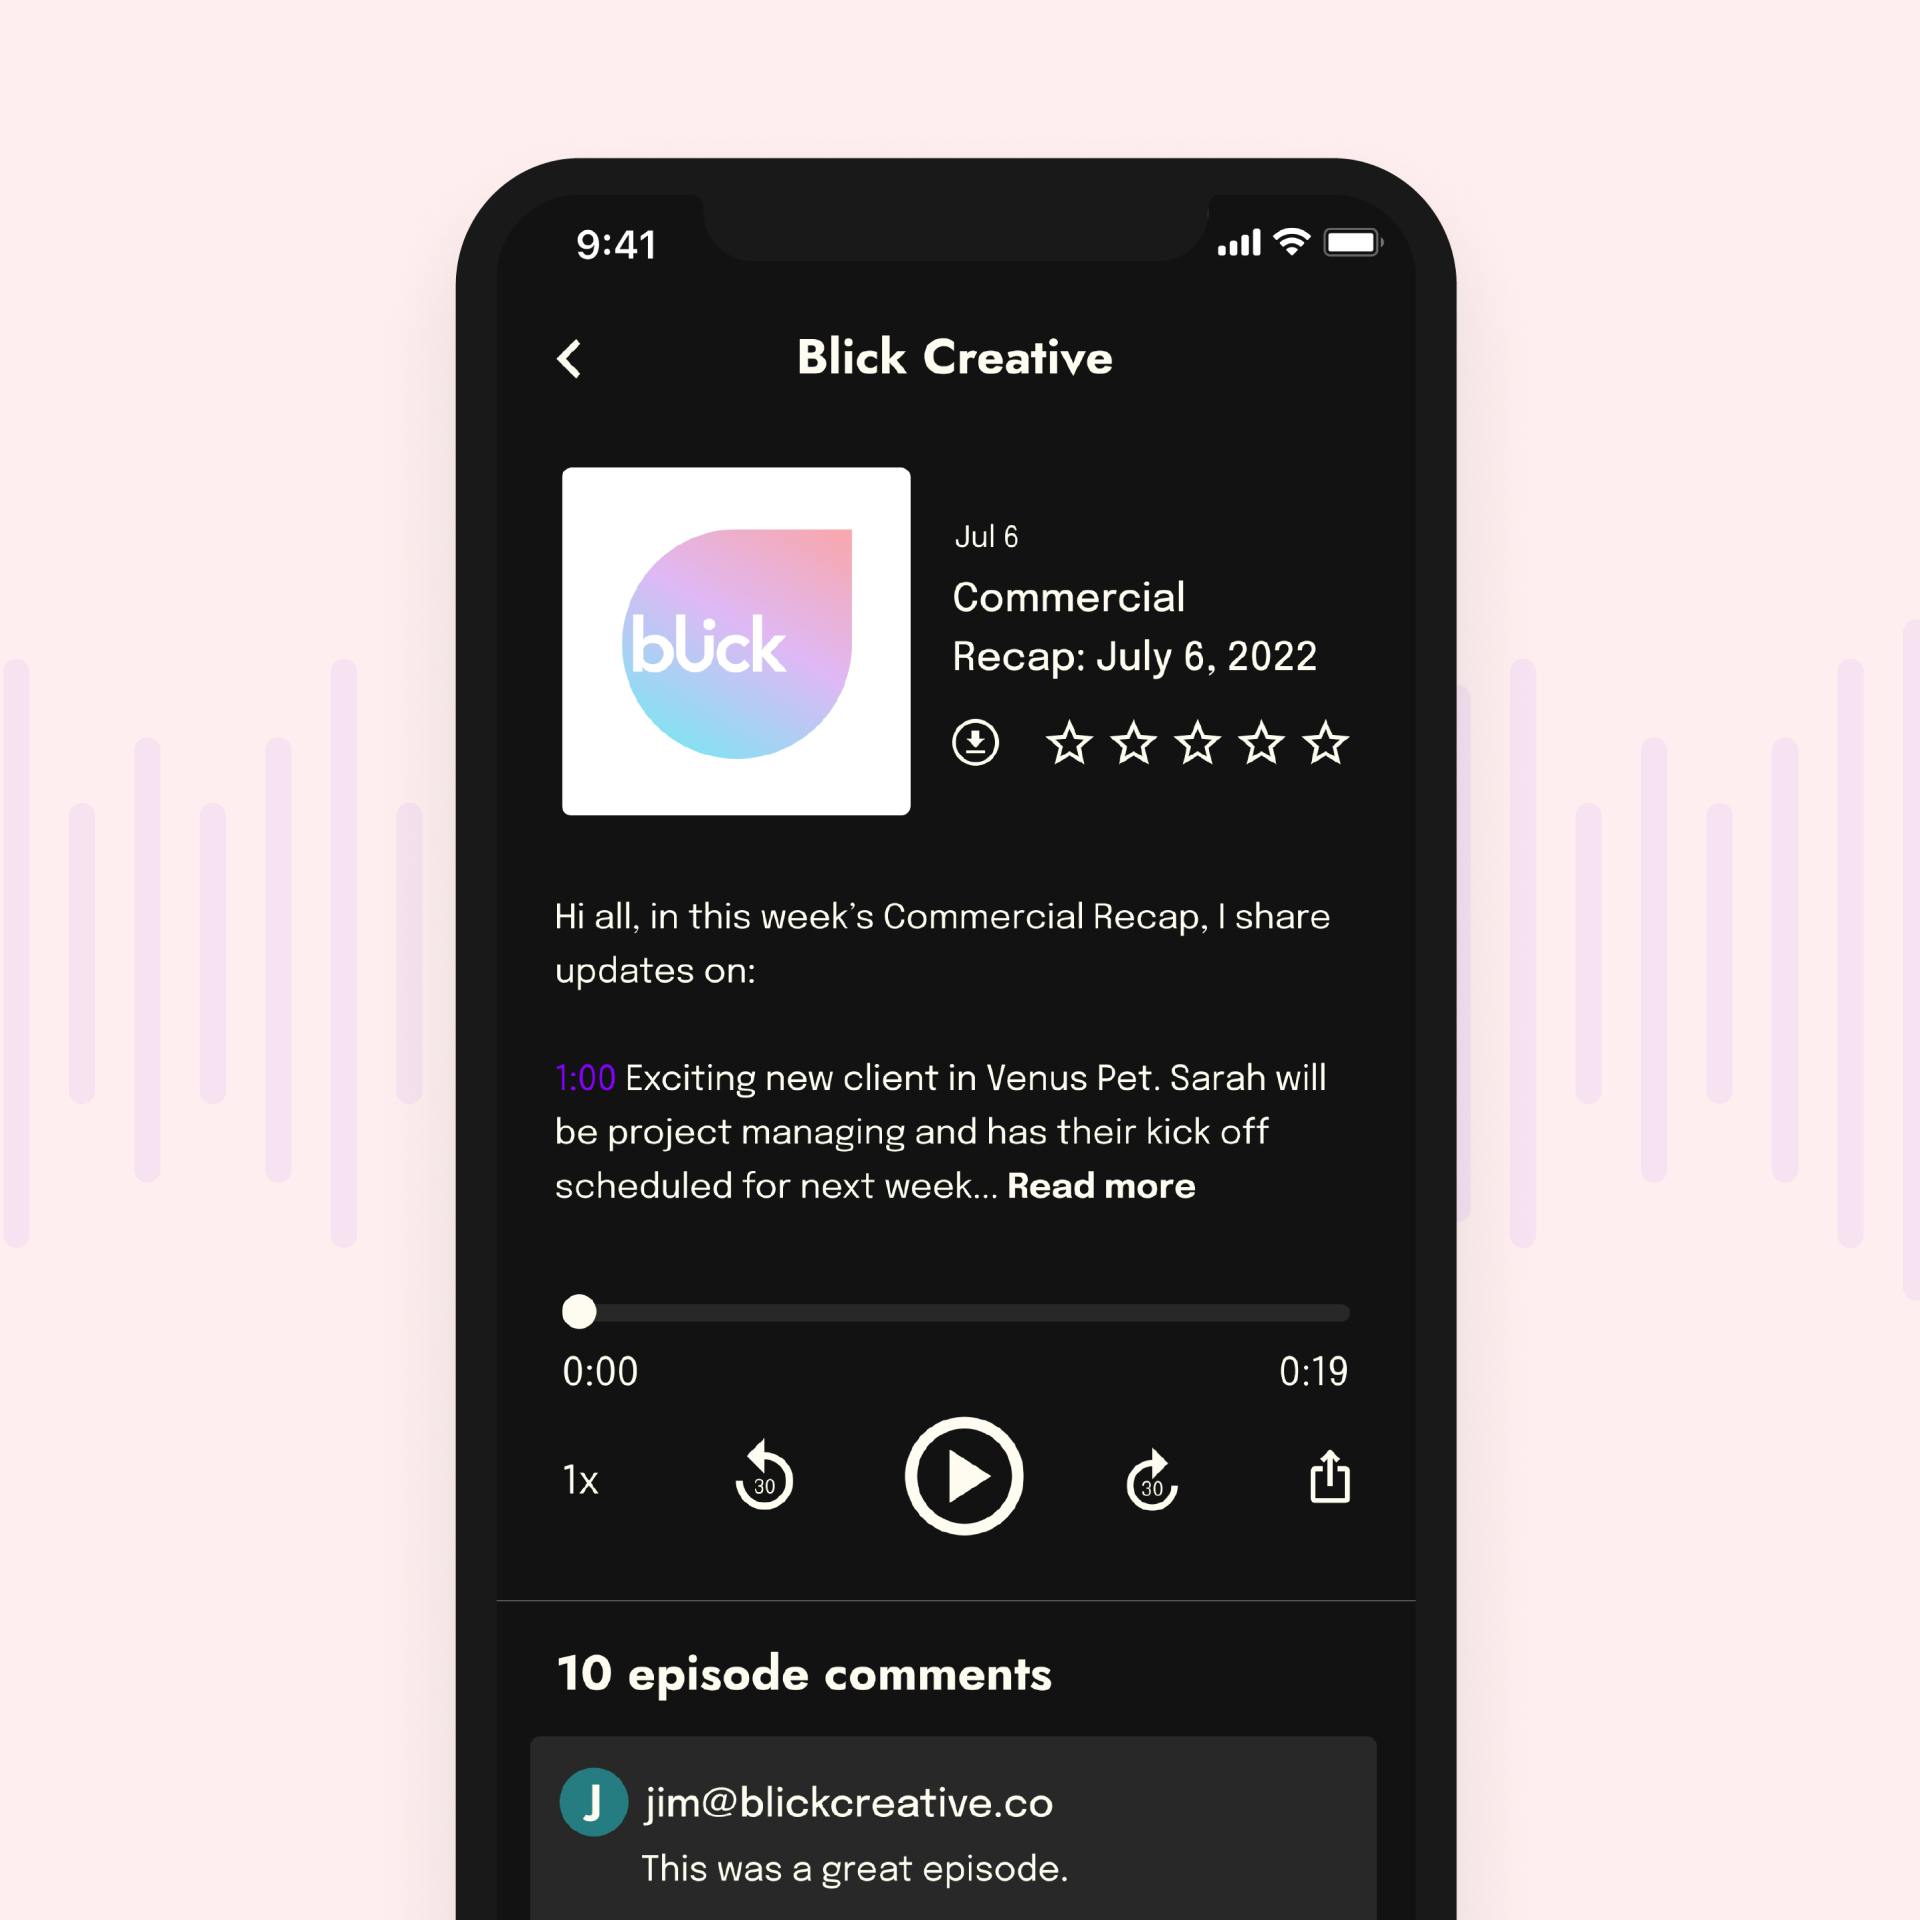
Once a Storyboard creator applies timestamps, listeners on the web browser or mobile apps will be able to select the clickable timestamp tags and jump to specified points in the episode.
Read more about timestamps on our blog.
How to add Timestamps to an episode description
Timestamps can be added to the Episode Description when using the Upload a Podcast tab. They can only be added by the administrator when uploading or editing an episode.
To add a timestamp
- In the Show Notes, you can either add timestamps right away or include them later on with your summary text.
- For each timestamp, make sure to use the MM:ss or M:ss formats (i.e. 05:30 or 9:12).
- After saving the episode, you will see the timestamps in the description on both mobile and web.
Pro tip: We recommend adding text after the timestamp to explain the content covered in that section of the episode.
Types of timestamp durations accepted
We accept two types of timestamp tags:
- MM:ss (Minute-Minute, Second-Second)
- M:ss (Minute, Second-Second)
Examples of timestamps
- 8:03 - Jeremy discusses a new product update.
- 12:15 | Rachael interviews Dominic.
Where should I enter a timestamp?
Timestamps are a great way to guide listeners through an episode. A timestamp can be used to:
- Highlight a new or significant segment of the show
- Call out moments in the episode when a new speaker is introduced
- Showcase key themes, topics, or memorable quotes
- Document important moments alongside a text transcript
How do I know that my timestamp was recorded?
To see your timestamp from the Administrator Dashboard:
- Scroll down to the episode where the timestamp was added.
- Under the Actions column, click on the Copy link.
- Open the link in a new tab. You will now be able to click on the timestamp in your episode description.
To see your timestamp from the Storyboard app:
- Click on the episode where the timestamp was added.
- Select the timestamp in your episode description.
Adding a timestamp in a comment
Timestamps can be added to comments by both administrators and listeners. A timestamp in an episode comment can be used to:
- Give context to a question being asked
- Highlight a key moment that other listeners should pay special attention to